What are the Steps in Cable Crimping?
Crimping is one of the most reliable methods of joining terminals or cables in a wide range of applications, from automotive electrical connections and networking to audiovisual setups. It's a process that involves deforming or compressing terminals/connectors (usually made of copper or brass) around a cable's conductor to create electrical contact, allowing seamless transmission of power or data.
One needs to understand the cable crimping process to make reliable cable connections. For this reason, this article discusses the step-by-step process of crimping cables.
Step-by-step Guide to Cable Crimping
Step 1: Gather the required tools and materials
Firstly, you need to gather the right tools and materials. They include:
A. Cable: Choose a cable of the right size based on a specific application. Often, wire size is given as AWG (American Wire Gauge).
B. Terminals/connectors: Your terminals should match the cable's size.
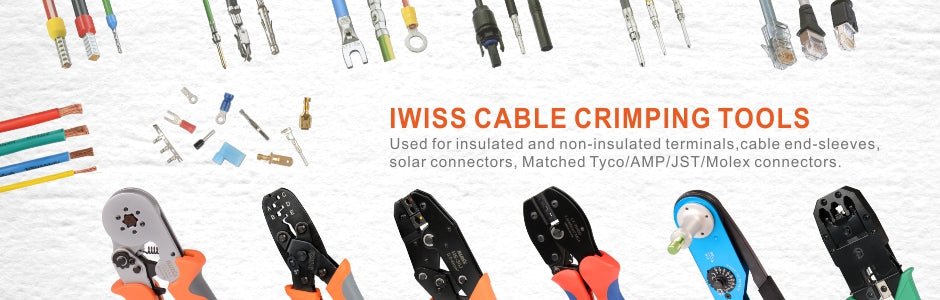
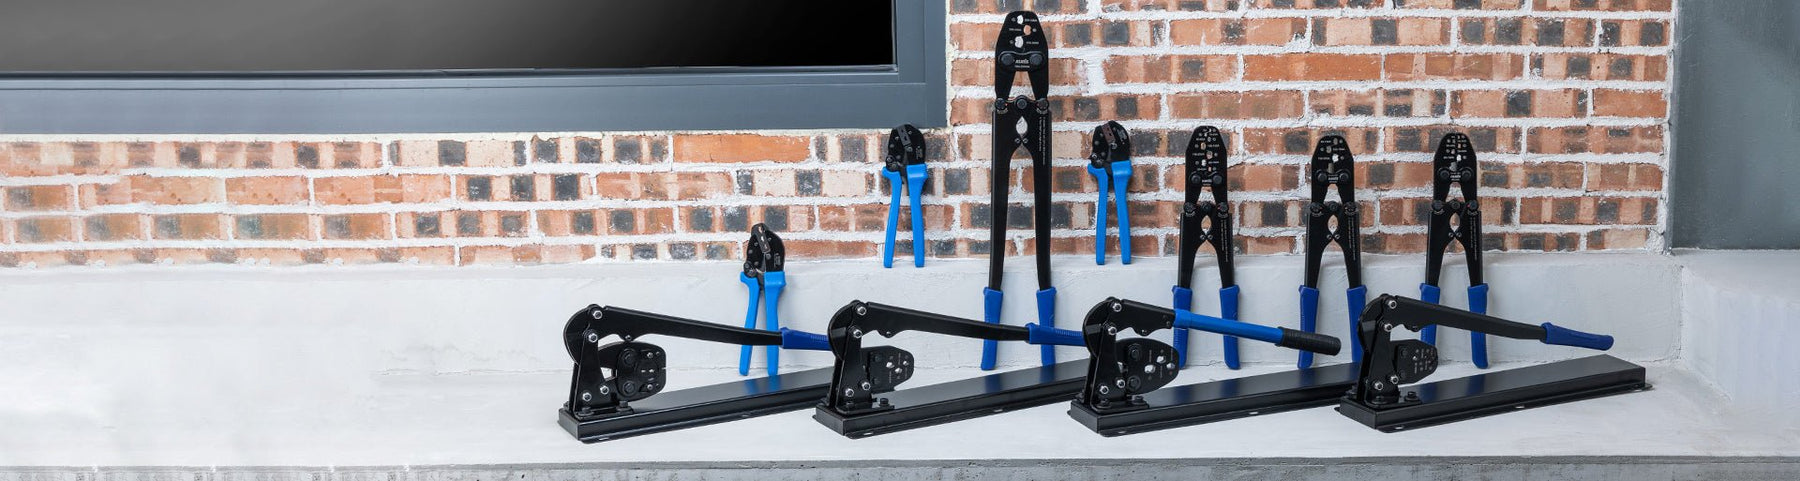
C. Cable crimping tool: Choose the appropriate crimping tools based on application (a battery cable lug crimping tool differs from a Deutsch DT connectors crimping tool). The crimping tool's jaw should also match the size of the terminal/connector and cable you choose.
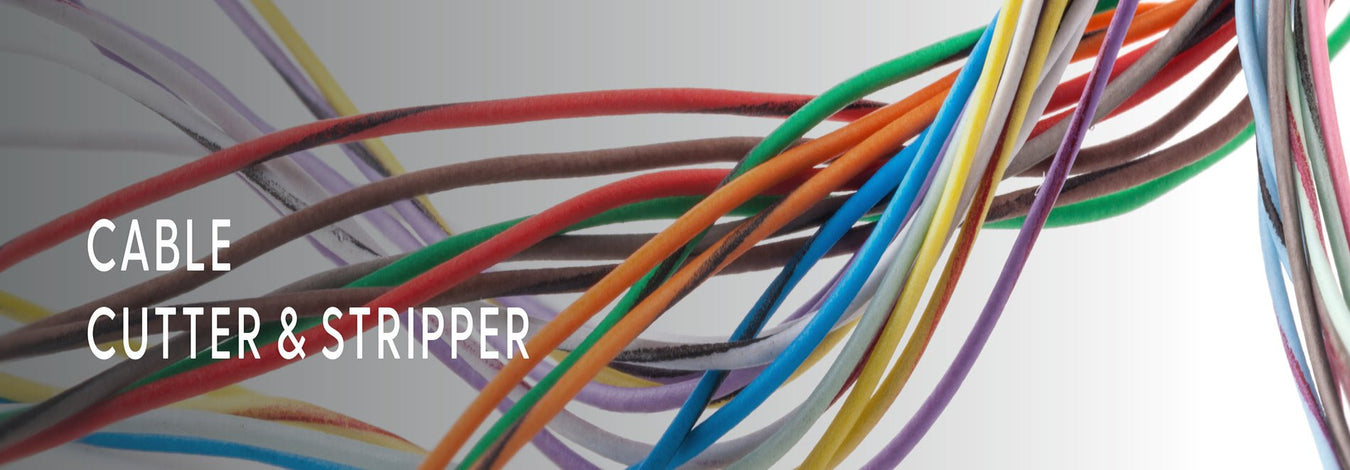
D. Cable cutter: This is an essential tool that enables you to cut the cable to the correct size. It also helps make clean cuts. A good example is the iCrimp VC-30A Ratchet Cable Cutter.
E. Wire/cable stripper: It helps you strip off the insulation on the cable's end to expose the conductor where the connector should be crimped. You may often find cable strippers designed with a cable cutter function.
Read more: Can I Use Pliers to Crimp?
Step 2: Cable Preparation
Start by measuring the cable length needed, use a cable cutter, and make a clean cut. Then, a cable stripper is used to strip the insulation off the end of the cable. Be careful not to damage the wire conductors or have some frayed wires while stripping the cable.
Step 3: Make a crimp connection
Insert the stripped end of the cable into your chosen terminal/connector and ensure they're properly aligned. It also ensures that all stranded wires are properly seated in the connector.
The next thing to do is to properly position the cable and the connectors onto the jaws/dies of the crimping tool. Proceed and apply pressure on the handles of the crimping tool to crimp the connector to the cable conductor. How do you know the crimping cycle is completed? You'll hear a clicking sound for most crimping tools, and the tool will automatically release it once a crimping cycle is done.
Depending on the type of cable terminals you're working on, you may decide to add insulation on the section between the crimp terminal and the cable. It helps protect the crimp connection from moisture, affecting its performance.
Step 4: Inspect and test the crimp connection
The last step is to visually inspect the created crimp connection by looking for signs of damaged terminal, uneven crimping, or loose wires. You should also consider testing the crimp connection by performing a continuity test: it helps verify the integrity of the connection.
Read more: How Can I Validate the Crimp Quality?
Bottom line
As outlined above, cable crimping is easy, especially when you have the right tools and materials. Besides, it's a skill one can quickly master and easily make reliable crimp connections. Are you a professional or a DIYer looking for the best cable tools to make crimp connections? iCrimp is the best platform for buying quality, modern, and affordable cable crimp connections. Our tools are also ergonomically designed and user-friendly.
References
Listen to this article
0:00