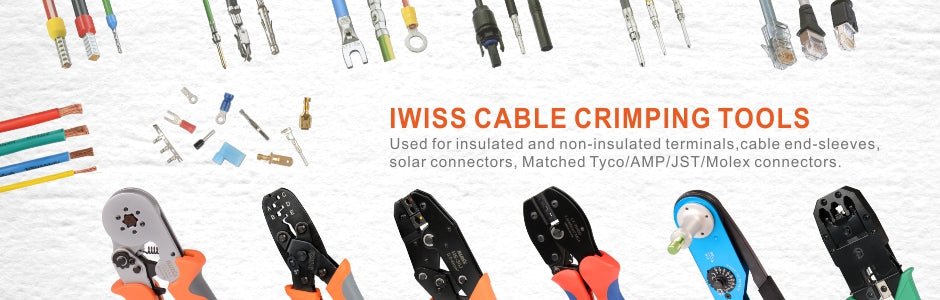
How to Crimp a Wire
If you've tried joining a wire to another electrical component, you know it's not as easy a task as it sounds, especially when you need a secure connection. There are different ways to do it, but crimping is the most effective. For instance, soldering is one way, but it's restricted in some electrical works, such as residential wiring, and it takes much work. Another option to join wires is splicing, but it also takes much work to achieve a tight wrap and insulate the splice.
But here is the important part: for the best and long-lasting solution, you've to crimp a wire correctly. It means you've to use the right tools and connectors to prevent issues of corrosion and overheating which ultimately cause a poor connection. For this reason, iCrimp has outlined a straightforward process to crimp a wire correctly.
How to Crimp a Wire; Step-by-Step Guide
1. Preparation
Before you start crimping your wires, you need to do a few essential things. Preparation also entails knowing the tools you need for the task. These things include:
A. Choosing the crimp terminal
It's essential you understand that the terminal you choose determines the quality of the crimp joint you make. Also, the crimp terminal's size needs to match the wire gauge: it will enable you to achieve a secure connection. Above all, you need to choose the right type of crimp terminals (insulated and non-insulated).
For insulated options, here is a simple guide to help you identify the right terminal:
- A yellow terminal corresponds to a 12-10 AWG wire
- A blue terminal corresponds to a 16-14 AWG wire
- A pink or red terminal corresponds to a 22-18 AWG wire
B. Choose a crimping tool
For quality crimp joints, you don't just use any tool to crimp the connectors to a wire. Specific tools are made for this job in different types and sizes. Therefore, choose the one that suits your tasks and the crimp terminal. You also need to avoid using a non-insulated crimping tool on insulated terminals and vice versa.
For instance, iCrimp IWS-8 Ratchet Crimping Tool is ideal for non-insulated terminals.
On the other hand, the iCrimp IWS-03C Ratchet 8 PCS Crimping Tool is perfect for insulated and non-insulated ferrules.
C. Get a proper wire stripper
You need to pick a wire stripper that matches your wire's size (AWG). For example, with the IWISS IWS-D10 Automatic Wire stripper, you can cut and strip 25-5 AWG solid and stranded wires.
D. Get a heat shrink system
Using a heat shrink system isn't mandatory. However, if you opt to have a sleeve over the crimp and the wire joint, you'll need something like a hot air gun to shrink the sleeve. Alternatively, you can get iCrimp's Heat Shrinkable Connectors Crimping Tool.
2. Crimp the terminal/connector onto the wire
A. Cut and strip the wire
Suppose your wire has damaged insulation or nicked frayed wires at the end of where you intend to crimp; you should first cut and then strip it. With the right tools, this process is done effortlessly and accurately. Also, consider a stripping length of about 2mm from the end of the wire or the length that matches your selected crimp terminal.
B. Twist the strands together
You need to twist the strands together using your thumb and forefinger. It helps bind them tightly together, thus making it easy to join the crimp terminal.
C. Attach the crimp terminal and connector sleeve/cover to the wire
If you're not using a non-insulated crimp terminal, the sleeve slips first onto the wire, and the terminal follows. It is also crucial you double-check whether the wire strands are correctly inserted into the crimp terminal.
D. Crimp the terminal to wire
Take your crimping tool and place your terminal and wires on the right jaw (often, crimp tool dies have gauge markings or color-coded dots to help you identify the suitable jaws for different wire sizes). Press the tool with enough force to squeeze the two parts together. Ensure the crimping terminal gets an uneven shape and the wire is secure.
E. Shrink your connector sleeve
If you add an insulated connector sleeve, heat shrinks it on the crimp joint. However, you must ensure the sleeve covers the crimp terminal and wire joint.
F. Inspect the connection
The last step entails inspecting the firmness of the crimp joint. A well-crimped wire should be firm. You'll need to redo the crimping properly if you notice movements on the joint or the terminal comes off.
Final Thought
Knowing how to crimp a wire properly can help you create perfect connections when undertaking your projects. Certain practices will help you achieve the best results through this process. They include choosing the right tools, selecting quality crimp terminals that match wire gauge, and inspecting your connection after crimping. For this reason, iCrimp will provide you with the best crimping tools and wire strippers, perfect for working on a wide range of wires and even heavy-duty crimping tasks.
References
Listen to this article
0:00