How to Connect PEX A to PEX B
Due to its affordability, flexibility, and durability, cross-linked polyethylene (PEX) has become a popular piping material in modern plumbing. PEX A and PEX B are the common types of PEX tubing but have different properties. In PEX plumbing, you may encounter a situation where you need to connect PEX-A tubing to PEX-B tubing. This is a little bit challenging for some people and plumbing DIYers. This guide will walk through practical ways of connecting PEX A to PEX B.
Step-by-Step Guide on Connecting PEX A to PEX B
A. Identify PEX Pipe
First, you need to identify the PEX pipe you're working with: the two have many similarities. Among the reliable methods of identifying PEX pipe include:
- Checking the marking/labeling on the pipe: Manufacturers usually print some marking on the outer part of PEX pipes indicating the types of PEX, among other details such as standard ratings.
- Do a shape memory test: PEX A tubing tends to be highly flexible (can be bent easily with no kinks) and returns to its original shape. In contrast, PEX B tubing is more rigid and can hardly regain its original shape.
- Identify the style of fitting: PEX A pipes use different types of fittings from PEX B. PEX A uses expansion and contraction-type fittings, while PEX B uses insert-style fittings.
Read more: How to Know if You've PEX A or PEX B Tubing
B. Choose a Suitable Connection Method
There are many ways to connect PEX pipes, but there are only a few methods of connecting PEX A to PEX B tubing. They include:
1. PEX-B insert style fittings
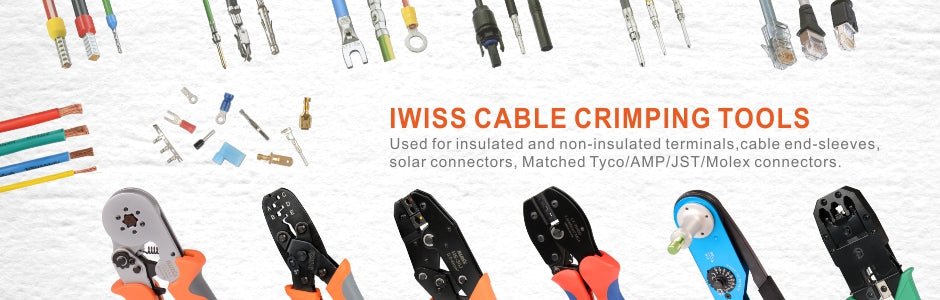
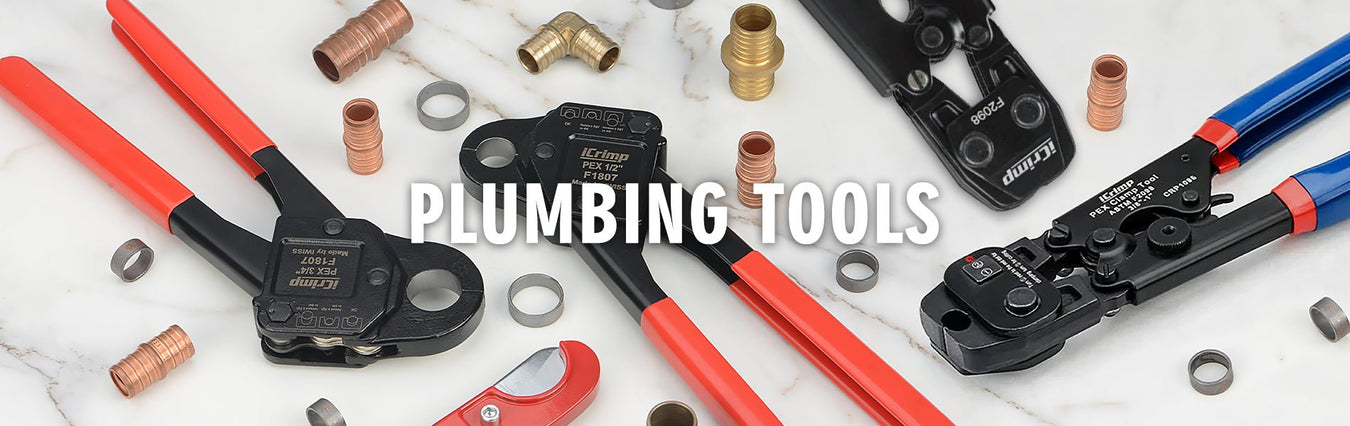
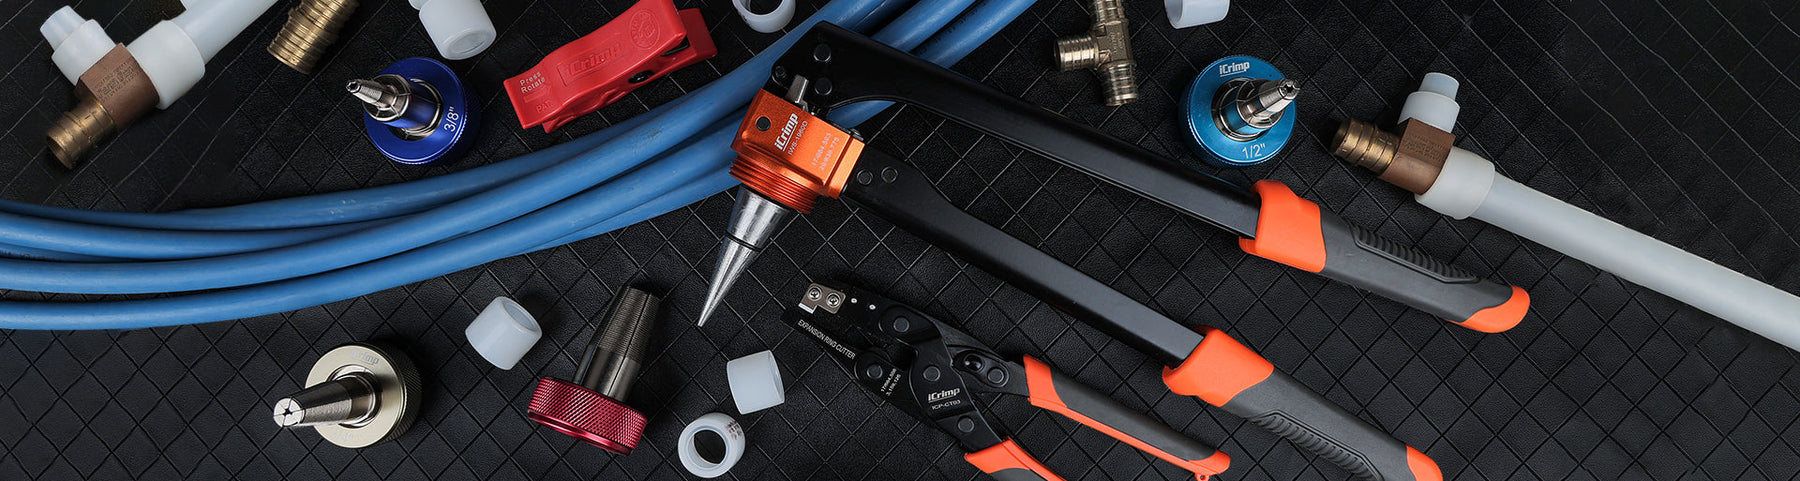
This is the most straightforward way to connect PEX A to PEX B. It only requires three things, i.e., a PEX-B insert style fittings (for PEX-A and PEX-B pipes), crimp rings, a crimper like the iCrimp PEX Crimp Tool Set, and an expansion tool like the iCrimp IWS-1960D PEX Expansion Tool.
You should use the expansion tool with PEX tubing to expand the end where the fitting will be inserted. Then, slide a crimp ring on the PEX A and B pipes. The next step is to insert PEX B tubing into the other end of the fitting. Finally, the connection is completed by crimping the crimp rings over the PEX A and B tubings and fitting.
2. Threaded transition
Another option is to use a threaded joint/adapter that helps transition from PEX A to PEX B. This method will require a PEX A MIP adapter with a male thread, a PEX B FIP adapter with a female thread, thread sealant, and a Teflon tape. These two adapters are threaded together to help you join PEX A and PEX B pipes. You should then use an expansion ring on the side PEX A pipes that are fitted and a crimp ring on the PEX B side.
3. PEX-A expansion fitting with a crimp ring
This method uses a PEX-A expansion fitting on the PEX A side and a crimp ring on the PEX B side. Insert the fitting once you expand PEX A tubing using an expanding tool. Then, insert the PEX-B tubing, slide the crimp ring onto the PEX-B tubing, and crimp it using a crimper.
Bottom line
Above are the three ways of connecting PEX A to PEX B. However, it's essential always to follow the manufacturer's guidelines for fittings and PEX materials. More importantly, check local codes to comply with plumbing codes and regulations. Lastly, it would be best if you prioritized using the right tools to make reliable connections. iCrimp is the leading platform for different types of PEX pipe tools and fittings.
References
Listen to this article
0:00